Installation
As of right now, Weaver is currently available on the Roblox Creator Store, but it is also installable as a Wally package.
Below are the current ways to install Weaver and get it working in your game.
Method 1 - Wally
Since Weaver is available as a package for Wally, you are able to install it by adding this beneath [dependencies] in your wally.toml file:
Weaver = "paracosm-daemon/weaver@^1"
If you would like to use Wally, you can learn more here.
This is the recommended method to install Weaver.
Method 2 - Roblox Creator Store
Weaver is also available as a module on the Roblox Creator Store. Installing it is relatively simple.
First, get the model. To add it to your inventory, you simply click the "Get Model" button.
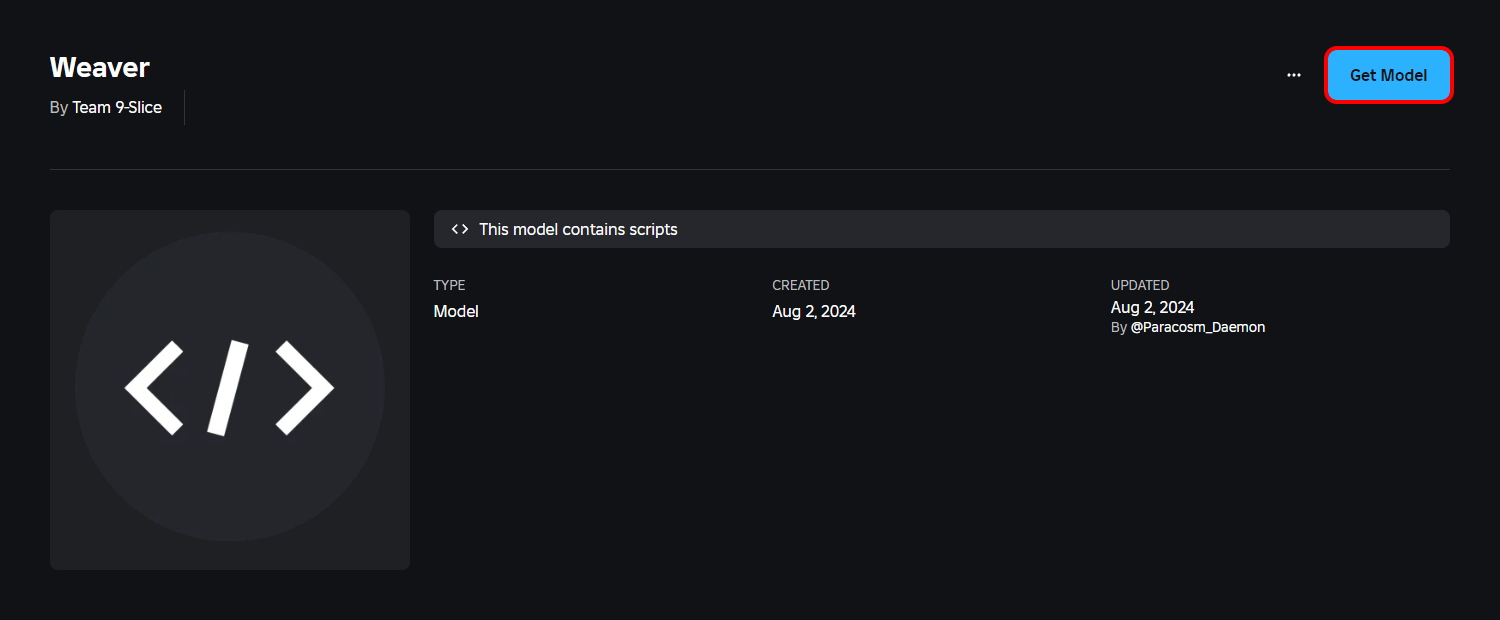
Once you've acquired the model, you're free to add it into Studio. You should see it within your inventory:

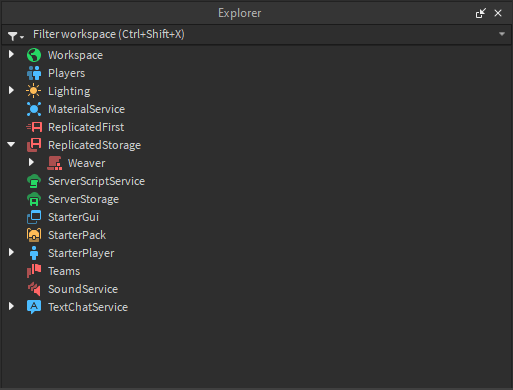
Finally, insert the model into your game, and then slot it somewhere you can easily access. Usually, it may go in a folder like ReplicatedStorage/Shared/Weaver, but it's up to you.
Method 3 - From GitHub
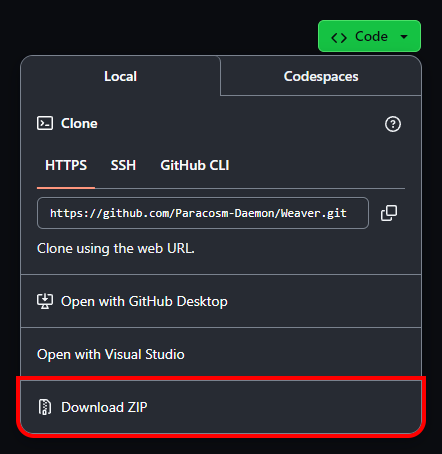
Weaver can also be installed via cloning the GitHub repository. First, navigate to the GitHub page, then locate the "Code" button. Once you open the dropdown, click "Download ZIP" to download the repository onto your computer.
Once it's downloaded, extract the ZIP file, and drop Weaver into your project. Once it's in, it should look like this:

You are also fine to clear out most of the files if you worry about storage space; the only files you need are within src/, alongside default.project.json.